More developers are working on remote servers than ever. Whether you're running heavy builds on a cloud VM, developing on a homelab, or managing production servers, your local Mac is just the interface — the real work happens somewhere else.
Here's how to build a remote development setup that doesn't slow you down.
1. SSH Config: The Foundation
Before anything else, set up your ~/.ssh/config. This file turns long SSH commands into short aliases:
Host dev
  HostName dev.yourcompany.com
  User krishna
  IdentityFile ~/.ssh/work_ed25519
  ForwardAgent yes

Host gpu-box
  HostName 10.0.1.50
  User ml
  IdentityFile ~/.ssh/id_ed25519
  LocalForward 8888 localhost:8888

Host prod
  HostName prod.yourapp.com
  User deploy
  IdentityFile ~/.ssh/deploy_ed25519
  Port 2222
Now ssh dev connects you instantly. ForwardAgent lets you use your local SSH keys on the remote machine (useful for git). LocalForward tunnels ports — perfect for Jupyter notebooks or dev servers.
2. Terminal Setup
Your terminal is where you'll spend most of your time. You have a few options:
Terminal.app — Built into macOS. Works, but no split panes, limited customization.
iTerm2 — Free, highly customizable. Split panes, search, profiles. The go-to for most developers.
Warp — Modern terminal with AI features built in. Fast, but sends telemetry and requires an account.
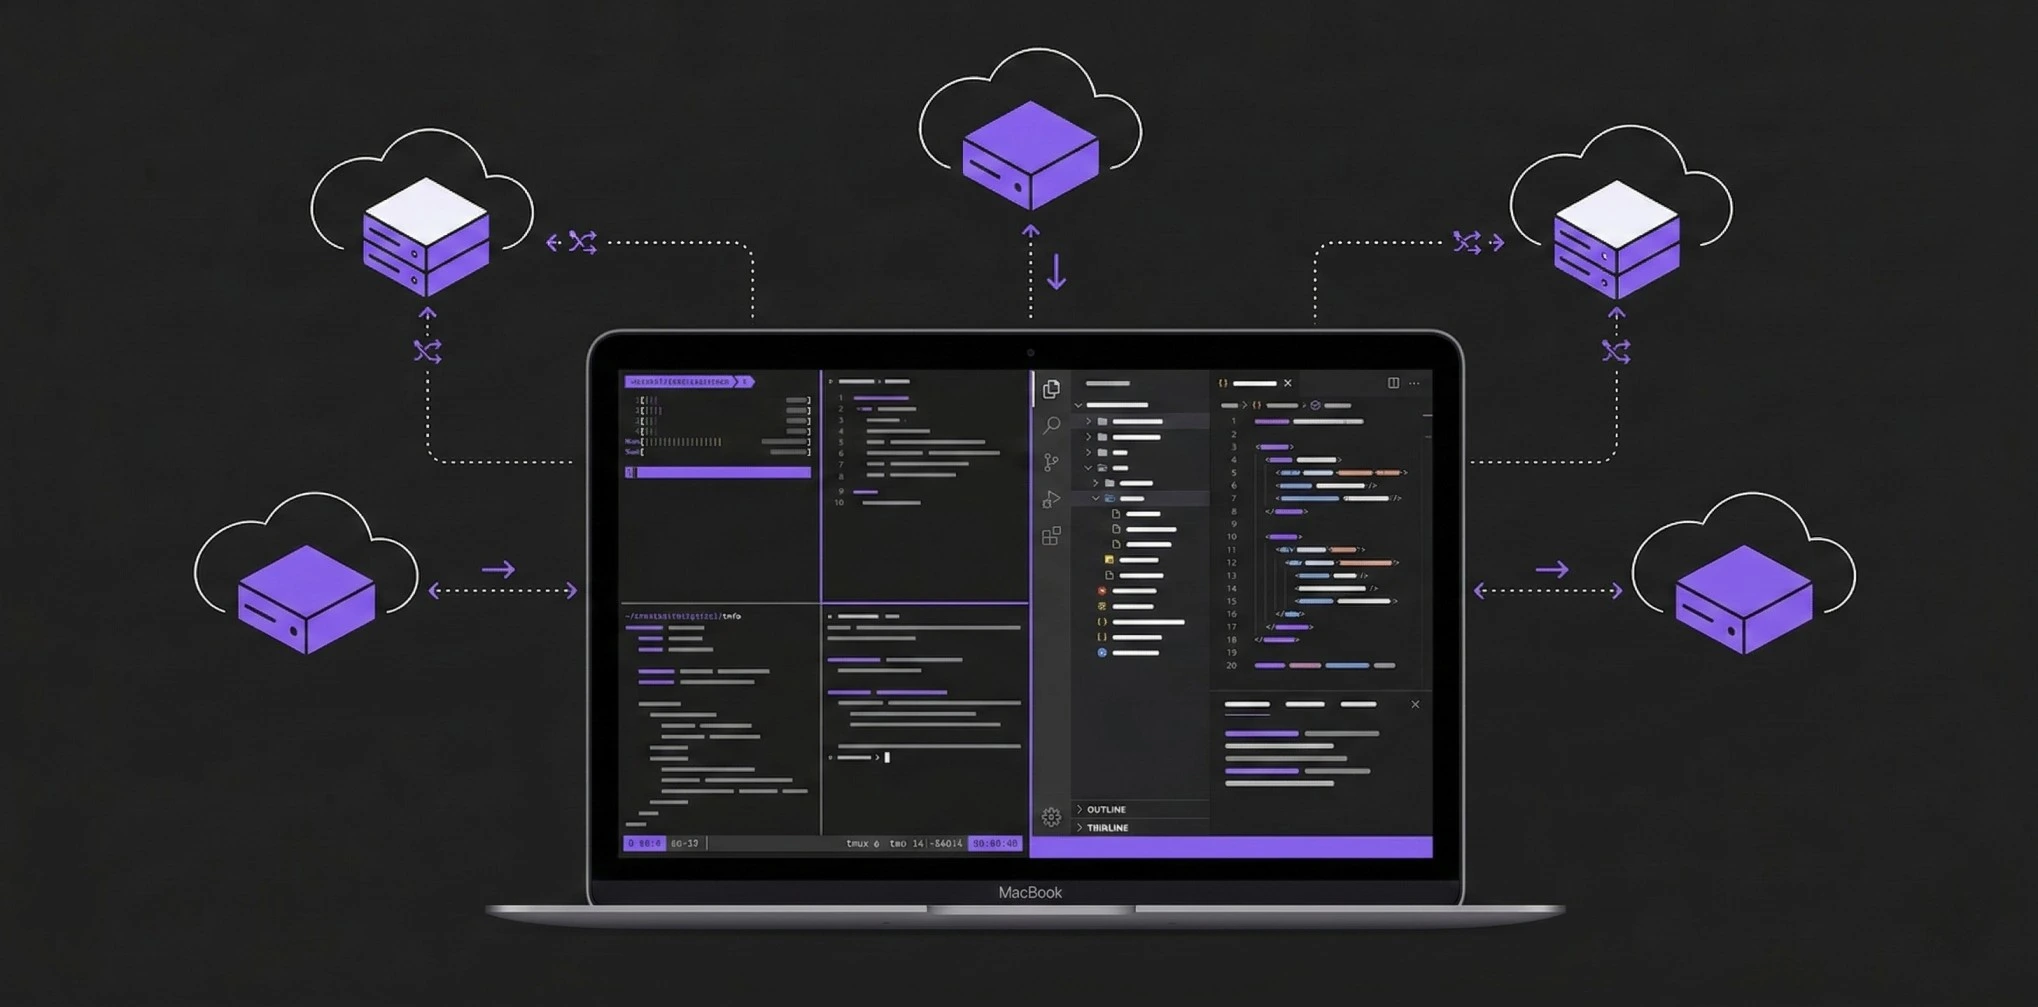
Pluto Door — SSH-focused terminal with GPU-accelerated rendering, split panes, and a built-in AI assistant that uses your own OpenAI key. Also includes SFTP and a code editor, so you don't need to switch apps. Good option if you're primarily working on remote servers.
Whichever you choose, make sure you have:
- tmux or screen on your remote servers for persistent sessions
- Split panes for running multiple commands
- Quick reconnection when your network drops
3. Remote File Editing
Editing files on a remote server is where workflows diverge. Here are the main approaches:
VS Code Remote-SSH — Install the Remote-SSH extension, and VS Code opens files directly on the server. Great developer experience, but it installs a server process on your remote machine and can be resource-heavy.
# Install the extension, then:
# Cmd+Shift+P → Remote-SSH: Connect to Host
Neovim over SSH — If you're comfortable with Vim, this is the fastest option. Zero overhead, works on any server.
ssh dev -t 'cd /var/www && nvim .'
SFTP + local editor — Download the file, edit locally, upload. Slow for iteration but works with any editor.
Pluto Door's built-in editor — Edit files directly on the server with syntax highlighting for 100+ languages, without installing anything on the remote machine. It's not a full IDE, but it's great for config files, scripts, and quick edits.
4. File Sync & Transfer
You'll constantly move files between local and remote. Set up these tools:
# rsync for deploying code
rsync -avz --exclude='node_modules' ./project/ dev:/var/www/project/

# Watch and auto-sync (install fswatch via brew)
fswatch -o ./src | xargs -n1 -I{} rsync -avz ./src/ dev:/var/www/src/
For one-off transfers, scp works. For browsing remote files, an SFTP client with drag-and-drop is much faster than the command line.
5. Port Forwarding
When you run a dev server on a remote machine, you need to access it locally:
# Forward remote port 3000 to local port 3000
ssh -L 3000:localhost:3000 dev

# Forward multiple ports
ssh -L 3000:localhost:3000 -L 5432:localhost:5432 dev

# In your SSH config (persistent)
Host dev
  LocalForward 3000 localhost:3000
  LocalForward 5432 localhost:5432
Now open http://localhost:3000 on your Mac and you're accessing the remote server.
6. Persistent Sessions with tmux
If your SSH connection drops, you lose everything — unless you use tmux:
# Start a new session
tmux new -s work

# Detach (Ctrl+B, then D)
# Reattach after reconnecting
tmux attach -t work

# Useful tmux config (~/.tmux.conf on the server)
set -g mouse on
set -g history-limit 50000
set -g default-terminal "screen-256color"
tmux keeps your session alive on the server. Disconnect your laptop, go to a coffee shop, reconnect — everything is exactly where you left it.
7. Dotfiles Management
Keep your remote environments consistent by syncing dotfiles:
# Create a dotfiles repo
mkdir ~/dotfiles && cd ~/dotfiles
git init
cp ~/.bashrc ~/.vimrc ~/.tmux.conf .
git add . && git commit -m "initial dotfiles"

# On a new server
git clone https://github.com/you/dotfiles ~/dotfiles
ln -sf ~/dotfiles/.bashrc ~/.bashrc
ln -sf ~/dotfiles/.tmux.conf ~/.tmux.conf
Putting It All Together
A good remote development setup on macOS looks like this:
- SSH config with aliases for all your servers
- A solid terminal with split panes and fast rendering
- tmux on every server for persistent sessions
- rsync for deployments and file sync
- Port forwarding for accessing remote services
- A code editor that works with remote files
You can piece this together with individual tools, or use something like Pluto Door that combines the SSH terminal, file browser, and editor in one app. Either way, invest the time to set up your config properly — you'll save hours every week.